How I Built a Custom IKEA Pax Corner Wardrobe to Maximize Bedroom Storage
Discover how I transformed an awkward bedroom corner into a functional storage space using IKEA Pax hack
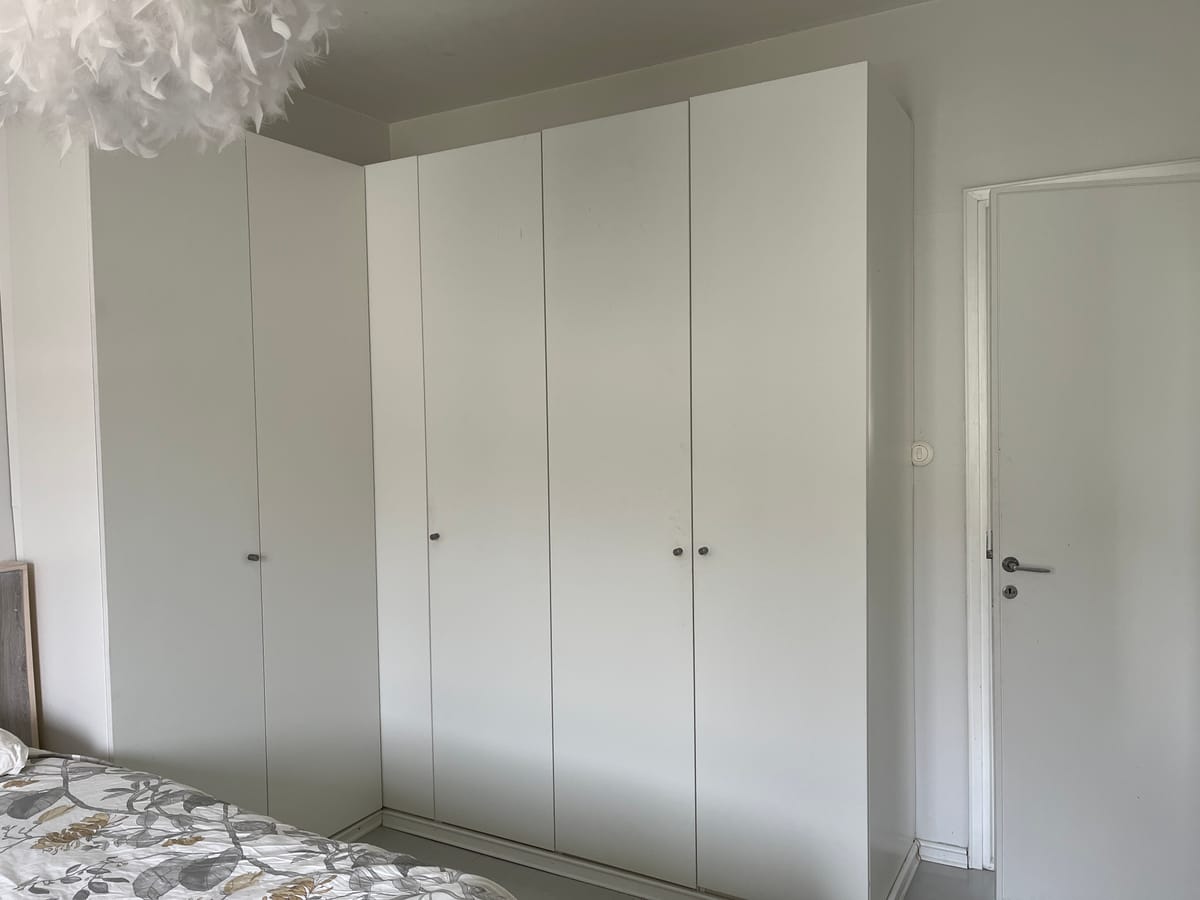
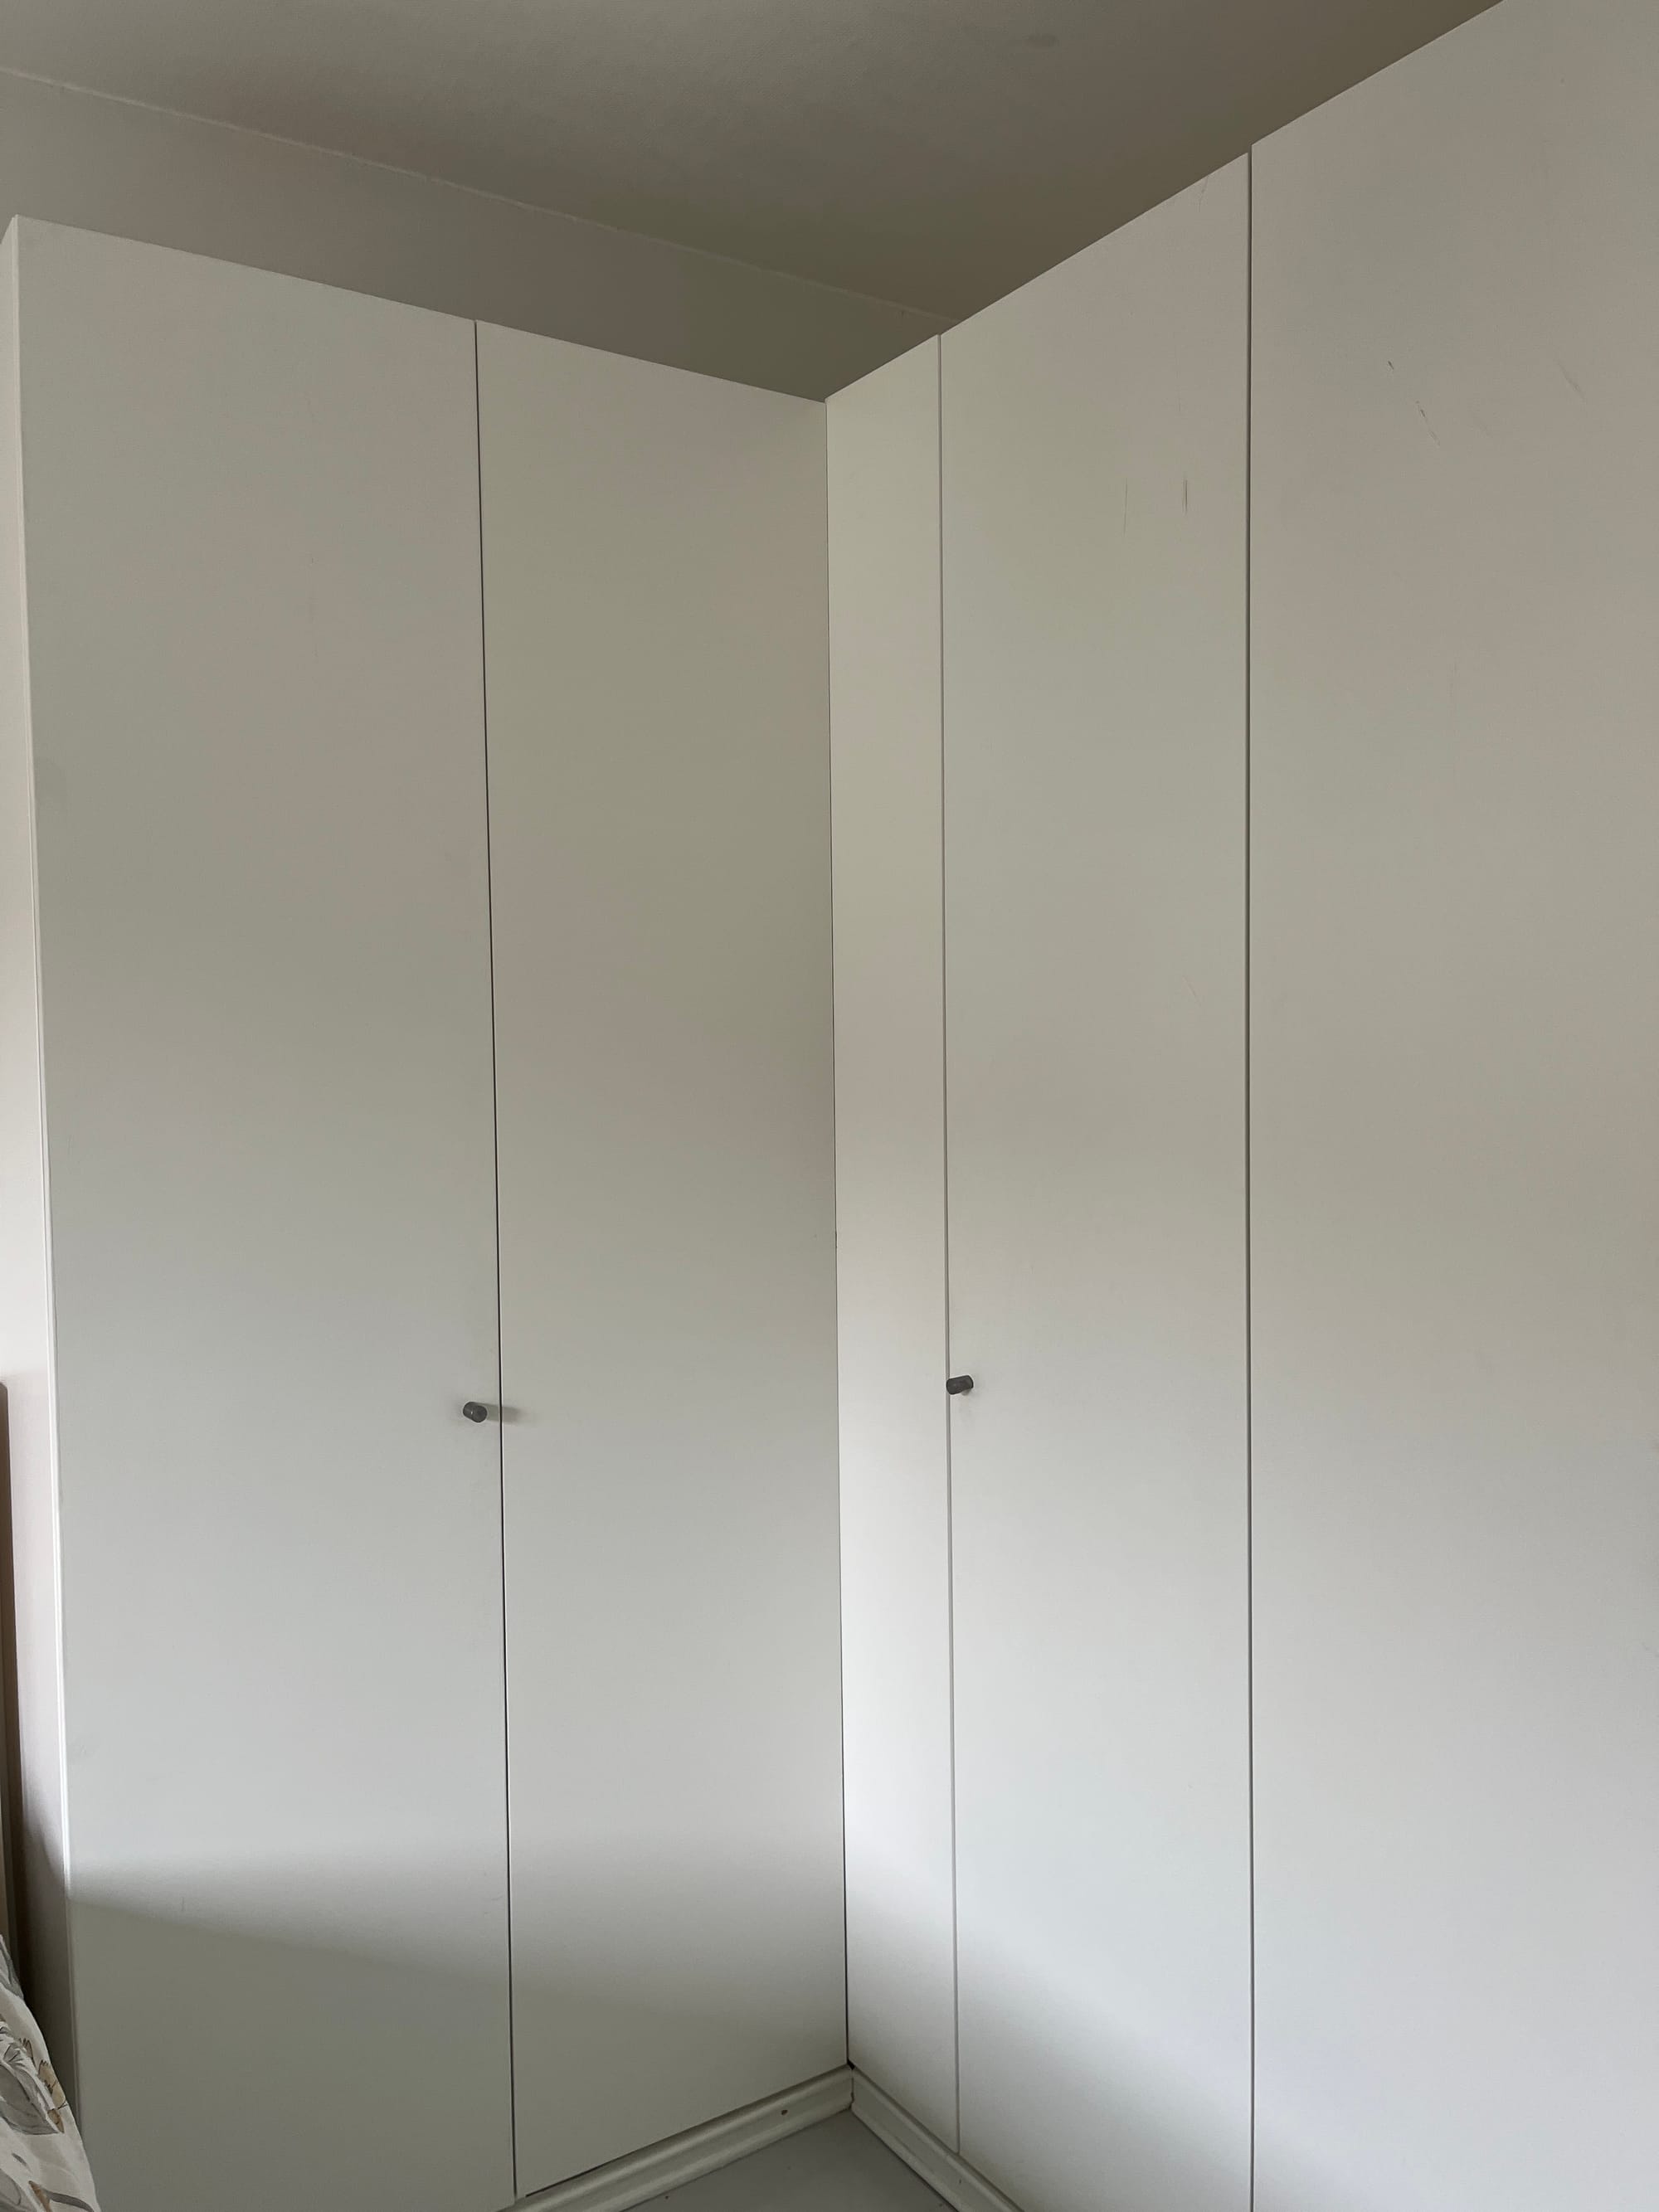
When we bought our apartment, I was secretly thrilled to find a whole row of IKEA Pax wardrobes already in the master bedroom. To some, that might sound like a weird thing to get excited about, but if you’ve had Pax inlife, you get it. IKEA offers a wide range of interior organizers for the Pax system, making it easy to customize and build the perfect wardrobe to suit your individual needs.
Our setup included four narrow wardrobes with hinged doors. It was decent amount of space for me and my husband before we had kids. However, as we started accumulating all the extra stuff that seems to appear out of nowhere, it became clear we needed more storage in our bedroom. Besides our laundry hamper needed a home as it never fit in our teeny-tiny bathroom (a.k.a. the shower closet).
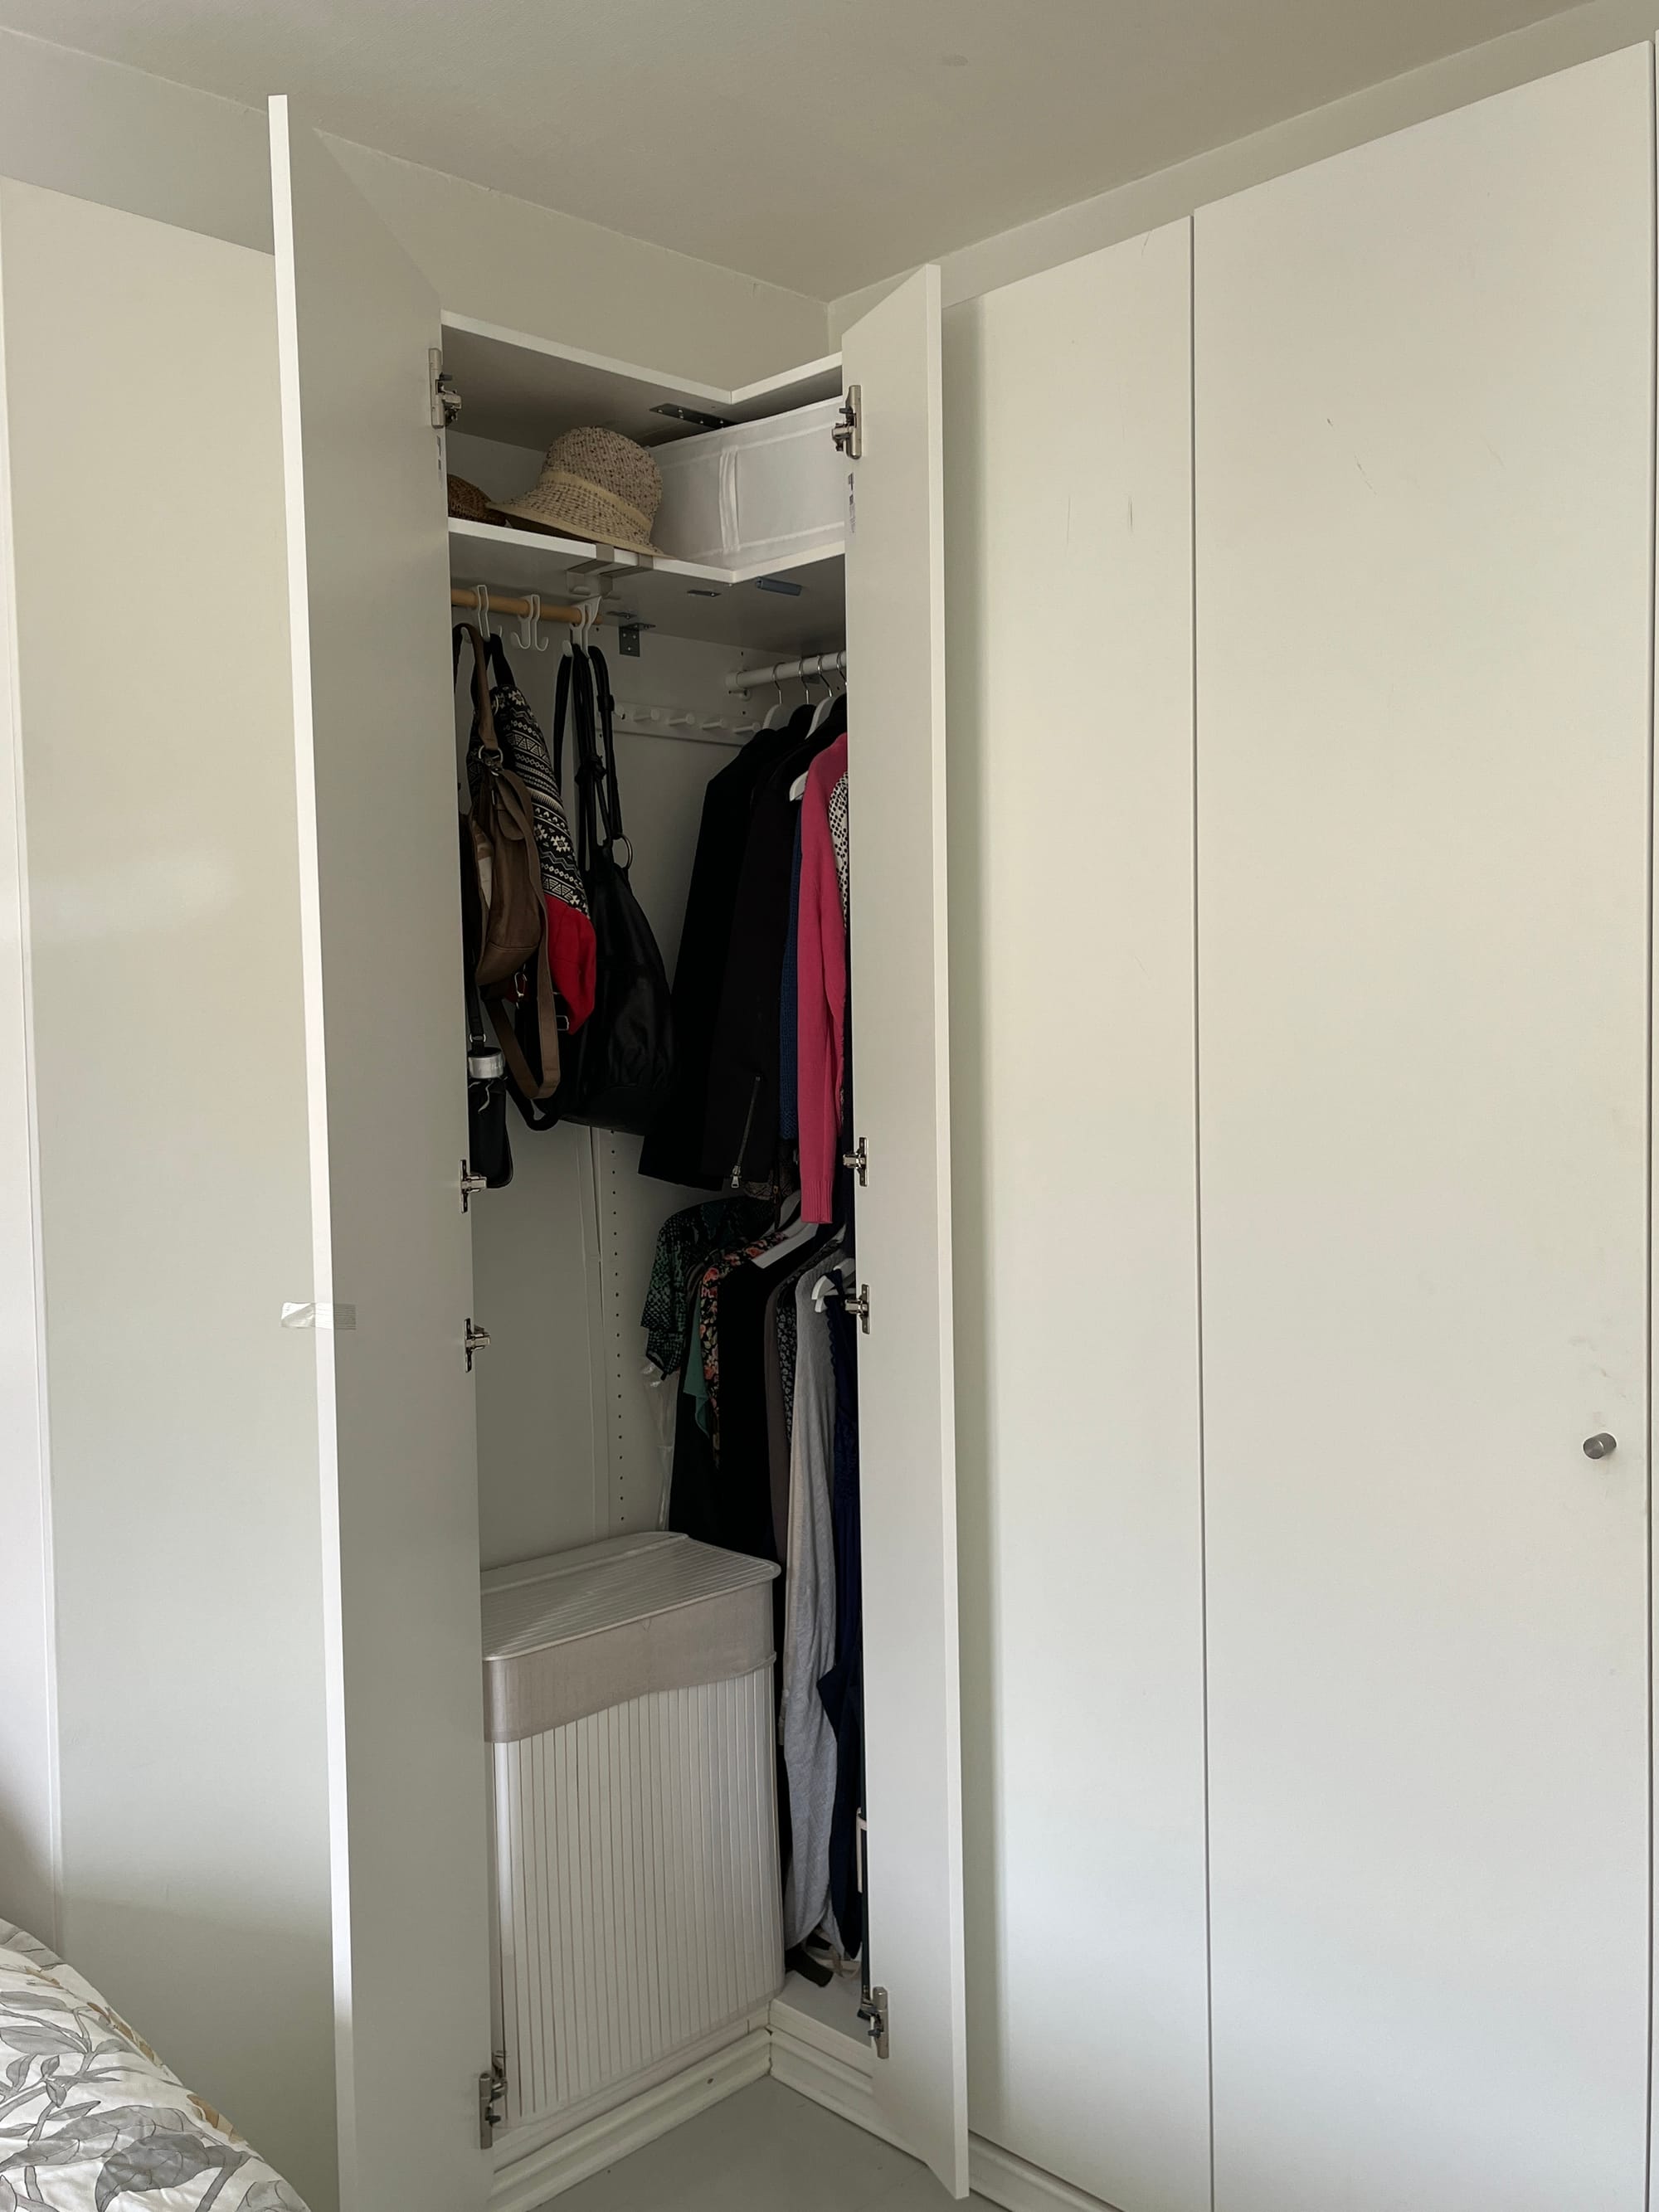
So there we were: desperate for more storage, but completely unwilling to give up more floor space. That’s when I had the lightbulb moment: the corner! You see, hinged doors need space in front of them to open, which means that bit of floor in front of the existing wardrobes isn’t actually usable. But if I could tuck another wardrobe into the corner—voilà! I could transform door-swing space into actual storage space.
Fueled by dreams of a hidden laundry hamper, I marched off to IKEA to investigate their Pax corner wardrobe solution. And… I was disappointed.
The corner unit looked sleek online, but in person? Not so much. It actually wasted space in the corner. And there was this thick, awkward panel where the cabinets met which made it tricky to access the rear cabinet and left no room for wider items in the corner. My hopes of a neat hidden storage nook were dashed. IKEA, my old friend, you let me down.
So, with my laundry still homeless, I did what any stubborn person would do: I decided to hack together my own corner wardrobe. My first idea was simple: buy a 75 cm-wide Pax and attach a 38 cm-deep Pax without other side panel to its front using flat brackets. Easy, right? Unfortunately, not quite. Pax doors only come in standard widths, which meant this setup would’ve left an awkwardly large gap between the two doors. In addition, leaving the side panel out from front pax, will make the door wider than the cabinet.
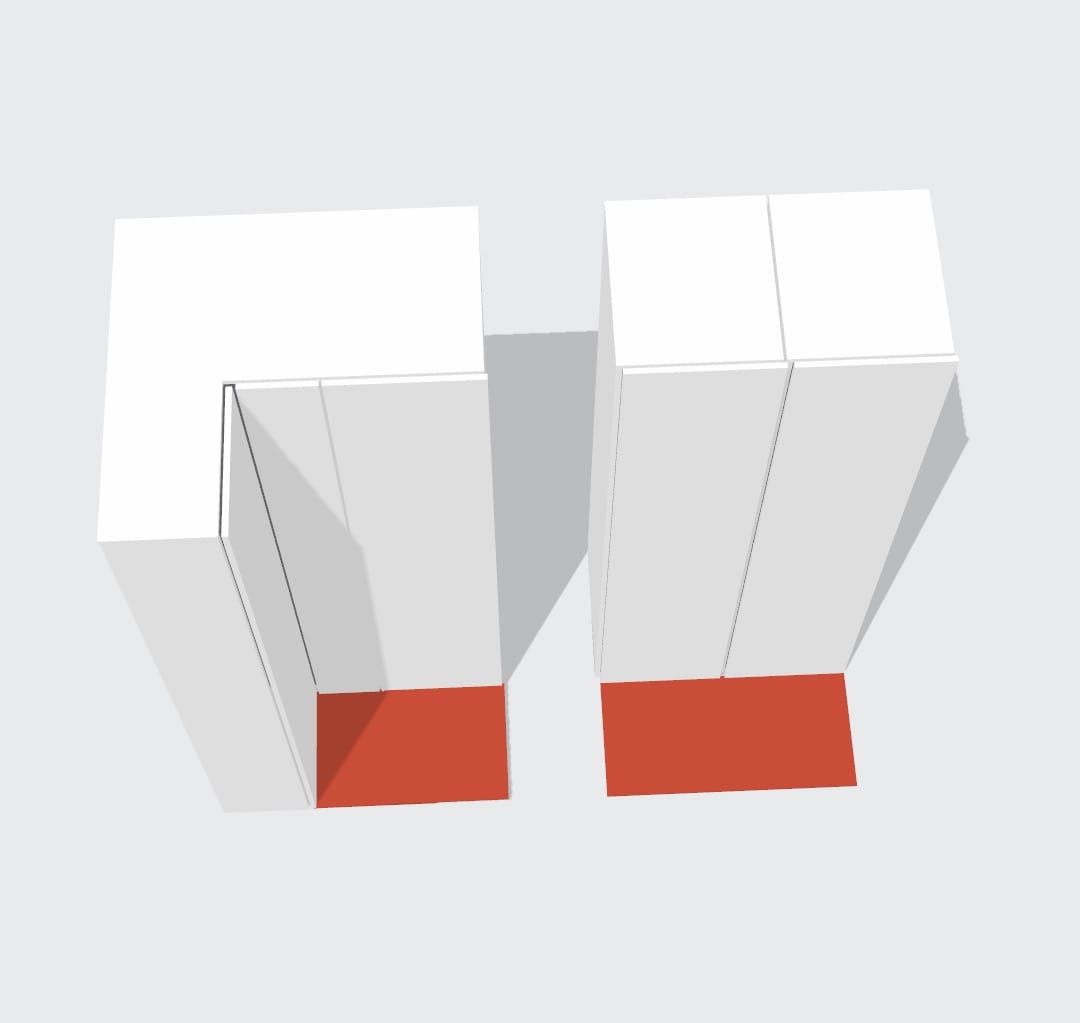
To make the doors align properly, I realized I needed to make the rear Pax narrower and front Pax wider than the standard width of 50cm. Tuning rear pax was simple: I just sawed the top and bottom panels down to the custom width I needed. That did mean losing the pre-drilled holes for attaching the left side panel, but a few sturdy corner brackets solved that problem in no time.
Making the front Pax wider was possible by ordering 75cm wide Pax shelves, cutting them to the correct width and using them as top and bottom panels.
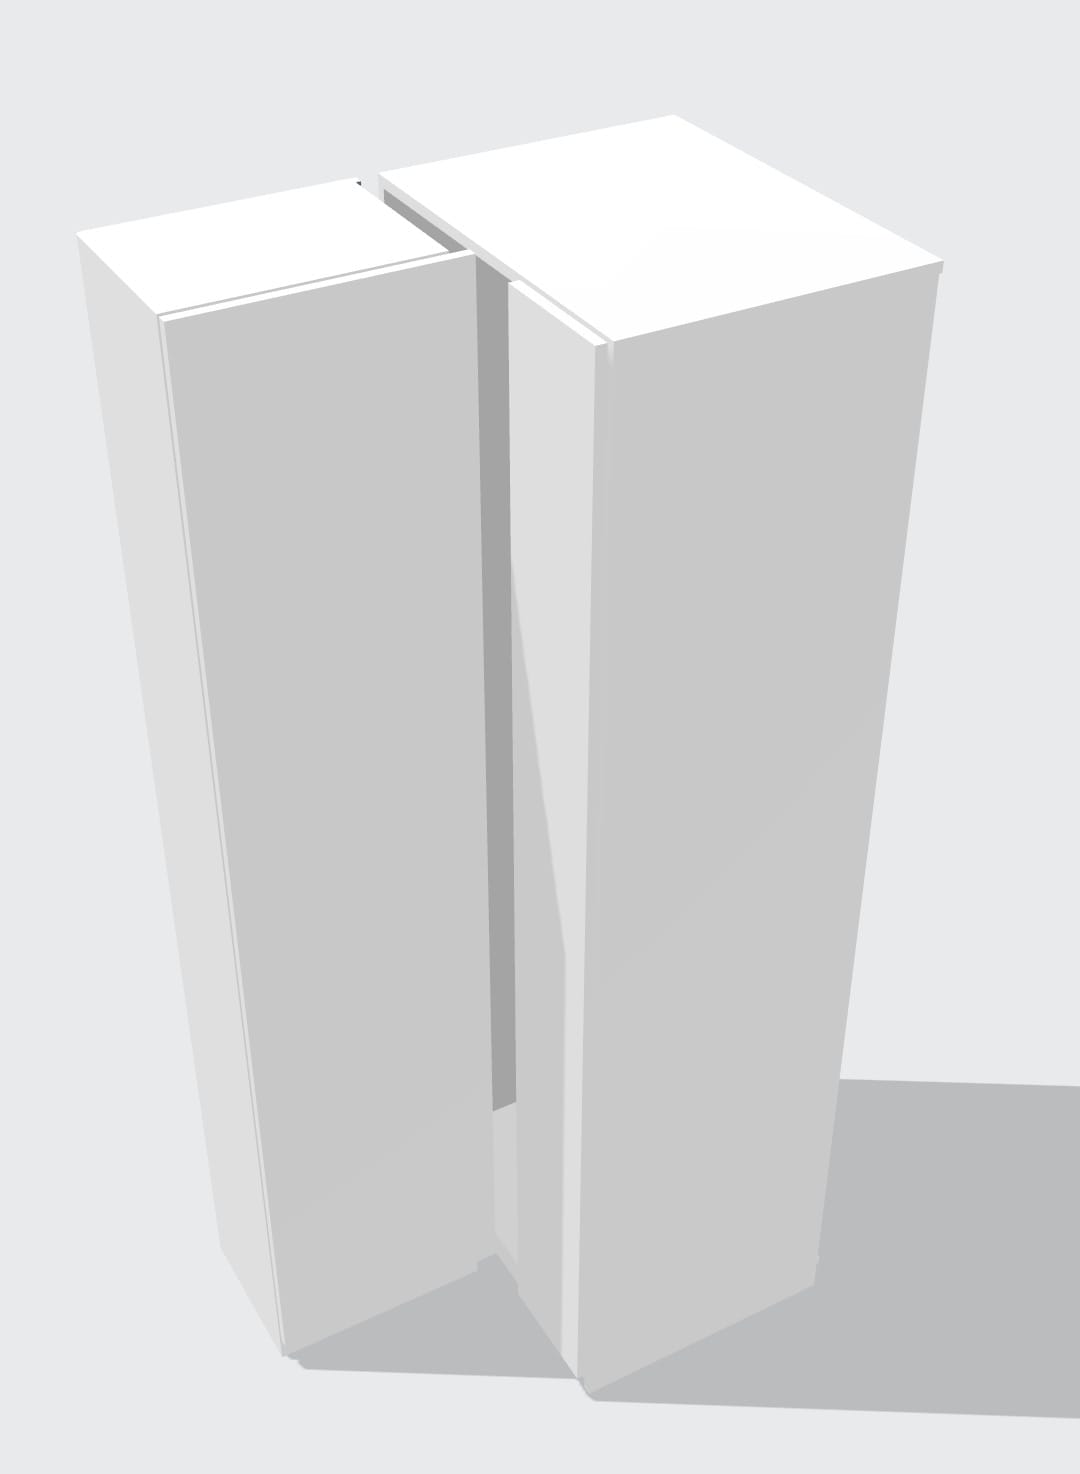
Once the custom-sized rear Pax was up and standing, I assembled the front unit, without the right side panel, and attached its top and bottom panels directly to the rear unit using flat brackets. To finish it off and make the whole thing feel seamless, I bought two standard 75 cm Pax shelves and cut them down to size, one to fit the rear cabinet, one for the front. With those in place, I had a clean top shelf running across both units, tying everything together.
All in all the hack itself was pretty simple and the biggest hurdle was calculating the measurements correctly as well as detaching and reattaching the wardrobes to the walls (turns out there is no straight wall or corner in our 1940s building).
Want the full how-to with measurements, materials and simple step by step instructions?
I’m working on a follow-up post that shows exactly how to build this corner wardrobe. If you’d like to know when it's ready, just subscribe to my newsletter. You’ll also get other usefull small-space ideas, IKEA hacks, and home organisation tips I share from time to time.